
Plant Seeds Successfully: 5 Easy Tips for Starting in Pots. Learn the easy steps to successfully plant seeds in starter pots and kickstart your gardening journey. From choosing the right pot to caring for your seedlings, follow our simple guide for a successful harvest. Get your green thumbs ready and watch your plants grow!
Plant Seeds Successfully: 5 Easy Tips for Starting in Pots. pot to caring Plant Seeds Successfully: 5 Easy Tips for Starting in Pots
Plant Seeds Successfully
How to Plant Seeds in Starter Pots: A Complete Guide
Planting seeds in starter pots is a great way to get a head start on your gardening for the season. It allows you to control the growing conditions early on and gives you more control over the germination process. Not only that, Plant Seeds Successfully but it’s also a more cost-effective way to grow plants from seeds compared to buying already grown seedlings. In this blog post ,Plant Seeds Successfully we’ll take you through the step-by-step process of planting seeds in starter pots to help you achieve a successful and bountiful garden.
What You’ll Need:
Before we dive into the steps, let’s go over the tools and materials you’ll need for this project:
Starter Pots:
You can purchase starter pots from your local gardening store or make your own using materials like peat pots, paper cups, or even biodegradable egg cartons.
Seed Starting Mix:
A good quality seed starting mix is important as it provides the necessary nutrients for the seeds to germinate and grow.
Seeds:
Choose your desired plants and make sure to read the instructions on the seed packets for any specific requirements.
Water:
Plants need water to grow, so ensure you have a steady supply of water for your starter pots.
Fertilizer:
Some plants may require fertilizer as they start to grow, so it’s good to have some on hand.
Plastic Cover or Plastic Bag:
A plastic cover or bag can help create a humid environment that can aid in seed germination.
Growing Lights:
If you’re starting seeds indoors, having growing lights can provide the necessary light for healthy seed growth.
The Steps:
Now that you have all the necessary materials, it’s time to get started! Below are the steps to follow for planting seeds in starter pots:
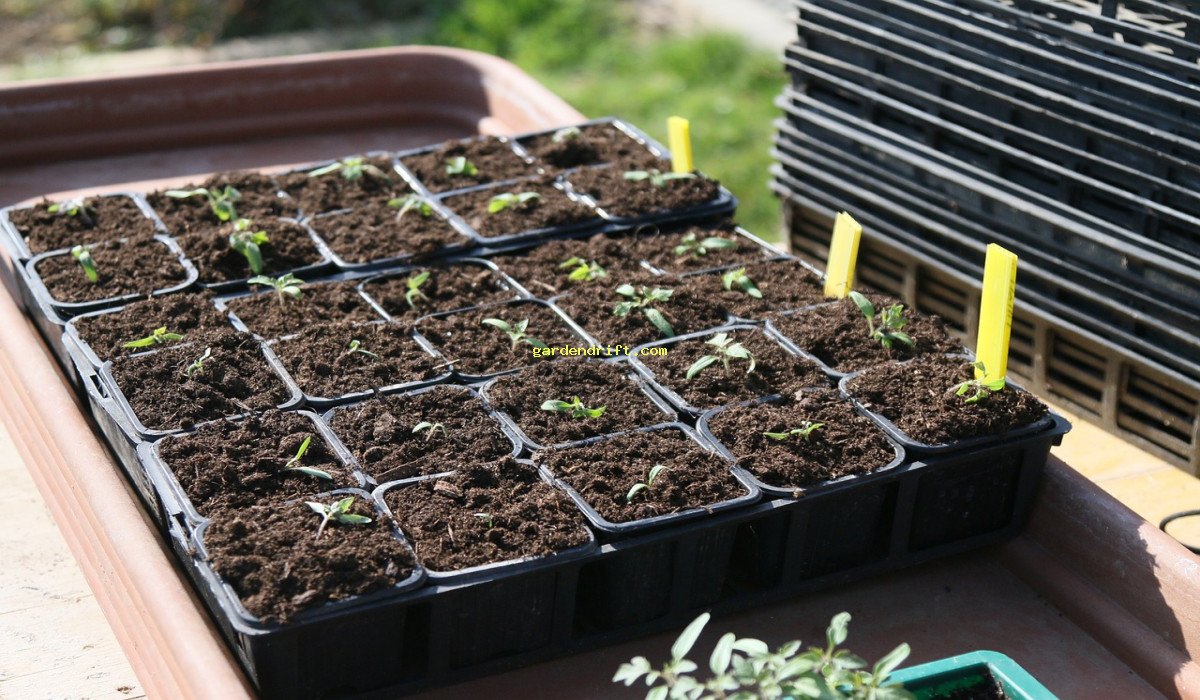
Step 1 Prepare Your Pots
Start by filling your starter pots with the seed starting mix about ¾ of the way full. Make sure to gently pat down the soil to create a firm base.
Step 2 Add Seeds
Following the instructions on the seed packets, add the seeds to the pots and cover them lightly with the seed starting mix. Generally, seeds should be planted at a depth of 2-3 times their diameter.
Step 3 Water the Soil
Using a spray bottle or a watering can, lightly water the soil. You want the soil to be damp but not overly saturated. Plant Seeds Successfully
Step 4 Create a Humid Environment
Cover the pots with a plastic cover or plastic bag to help trap moisture and create a humid environment for the seeds to germinate.
Step 5 Provide Adequate Light and Temperature
Place the pots in an area that receives plenty of sunlight or use growing lights if starting indoors. The ideal temperature for seed germination is between 65-75 degrees Fahrenheit.
Step 6 Monitor and Water
Check on your pots regularly to ensure the soil remains damp. Using a spray bottle can help prevent over-watering. If the soil appears dry, water lightly.
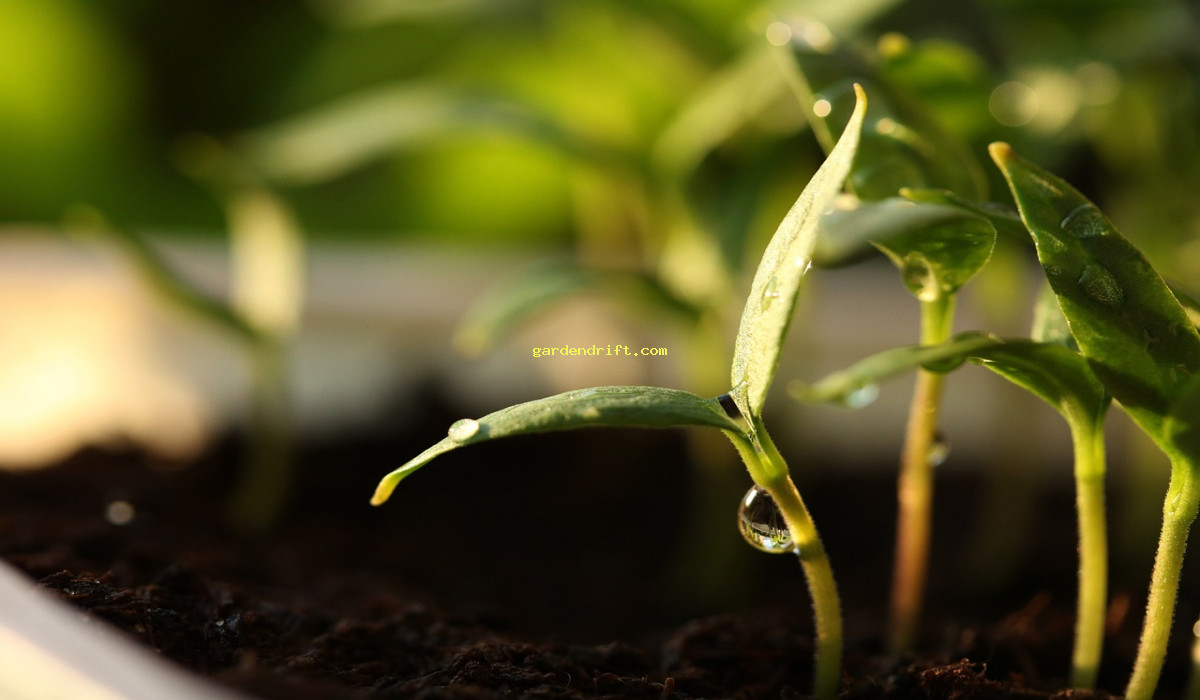
Step 7 Remove Cover
Once you start to see seedlings emerge from the soil, it’s time to remove the plastic cover. Allow for some space between the plants to prevent overcrowding and provide better air circulation.
Troubleshooting Tips:
While planting seeds in starter pots may seem like a straightforward process, there are some common issues that can arise. Here are a few troubleshooting tips to help you out:
Problem: Seeds Not Germinating
Make sure you’re providing adequate water and light for your seeds. If the temperature is too low, consider using a heating mat to provide warmth.
Problem: Leggy Seedlings
If your seedlings appear leggy or tall and weak, it’s a sign that they are not receiving enough light. Make sure to move them to a sunnier spot or use growing lights.
Problem: Mold Growth
If you notice mold growth on the soil, it’s a sign that the soil is too damp. Remove the plastic cover and allow for better air circulation. Try to ensure you’re only watering when the soil appears dry.
Problem: Damping Off
Damping off is a fungal disease that causes seedlings to wilt and die off. To prevent this, make sure to use clean trays and pots, and avoid over-watering.
Transplanting Seedlings:
Once your seedlings have grown a set of true leaves, it’s time to transplant them into larger pots or into your garden. Here’s how:
Step 1 Prepare Larger Pots
Fill larger pots with potting soil and create a small hole in the center for your seedling.
Step 2 Gently Remove Seedling
Gently remove the seedling from its starter pot. Be careful not to damage the roots.
Step 3 Place in New Pot
Place the seedling in the hole you created and fill in any gaps with potting soil. Lightly press down the soil to secure the seedling.
Step 4 Water Lightly
Give your newly transplanted seedling a light watering.
Step 5 Continue to Care for Seedling
Place your newly transplanted seedling in an area with adequate sunlight and continue to water regularly.
How Many Seeds Should I Plant in Each Pot?
Generally, you should plant 2-3 seeds per pot. This allows for some seeds to not germinate and ensures you have at least one successful seedling per pot.
Can I Use Old Seed Packets?
While it’s not ideal, you can still use old seed packets. However, the germination rates may be lower, so planting a few extra seeds would be wise.
Do I Need to Fertilize Seedlings?
Some plants may require fertilization as they start to grow, so it’s good to have some on hand. However, using a good quality seed starting mix should provide enough nutrients for the seedlings to initially grow.
Can I Plant Different Types of Seeds Together?
It’s best to plant the same type of seeds together to prevent any potential issues with watering or growth requirements. However, you can experiment and see what works best for you.
When Can I Transplant Seedlings Into My Garden?
Once your seedlings have grown a set of true leaves and are strong enough, they can be transplanted into your garden. Make sure to follow the instructions on the seed packets for the optimal time for transplanting.
In Conclusion:
Planting seeds in starter pots is a rewarding and cost-effective way to start your garden. With the right tools and materials, and following the steps outlined in this blog post, Plant Seeds Successfully you can successfully grow your own plants from seeds. Remember to monitor your pots regularly and troubleshoot any issues that may arise. Plant Seeds Successfully Happy planting!

Learn the easy steps to successfully plant seeds in starter pots and kickstart your gardening journey. From choosing the right pot to caring for your seedlings, follow our simple guide for a successful harvest. Get your green thumbs ready and watch your plants grow!. “planting” Plant Seeds Successfully: 5 Easy Tips for Starting in Pots
How do I prepare starter pots for planting seeds?
Before planting your seeds in starter pots, it’s important to properly prepare the pots to give your seeds the best chance of successful growth. First, Plant Seeds Successfully make sure the pots are clean and free of any debris. You can use a mixture of one part bleach to nine parts water to disinfect the pots. Then, Plant Seeds Successfully fill the pots with a good quality potting mix, leaving about an inch of space at the top for watering.
How should I plant seeds in starter pots?
To plant seeds in starter pots, follow the instructions on the seed packet for planting depth and spacing. Generally, Plant Seeds Successfully you will want to create a small hole in the potting mix with your finger or a pencil, place the seed inside, and cover it with a thin layer of potting mix. Gently pat down the soil to ensure good contact with the seed and water lightly.
What are some tips for watering seeds in starter pots?
Watering is a crucial step in successfully growing plants from seed in starter pots. It’s important to keep the soil moist, but not overly wet, as this can cause the seeds to rot. A good rule of thumb is to water until you see a small amount of water draining out of the bottom of the pot. You can also mist the soil with a spray bottle instead of watering directly to avoid disturbing the seeds.
How do I provide proper sunlight for seeds in starter pots?
Sunlight is essential for seed germination and growth. Place your starter pots in a location that receives plenty of sunlight, such as a windowsill or a sunny spot in your garden. If you are starting seeds indoors, make sure to rotate the pots regularly to ensure even sun exposure on all sides of the plant ,Plant Seeds Successfully
What should I do after my seeds have sprouted in starter pots?
Congratulations, your seeds have successfully sprouted in their starter pots! Plant Seeds Successfully It’s important to continue caring for them to ensure healthy growth. Move the pots to a location that receives plenty of sunlight and water regularly to keep the soil moist. Once the plants have grown a few inches tall, you can transplant them into larger pots or directly into your garden.


