

Simple Steps for DIY Backyard Compost Pit: Create Nutrient-Rich Soil at Home!. Learn how to make a compost pit in your backyard in just a few simple steps. Say goodbye to overfilling landfills and hello to nutrient-rich soil for your garden. Let’s get started!

Simple Steps for DIY Backyard Compost Pit:
Simple Steps for DIY Backyard Compost Pit: Create Nutrient-Rich Soil at Home!. simple steps Say Simple Steps for DIY Backyard Compost Pit: Create Nutrient-Rich Soil at Home!
How to Make a Compost Pit in Your Backyard
Composting is a great way to reduce waste and create nutrient-rich soil for your plants. While you can purchase a compost bin, making your own compost pit in your backyard is a more budget-friendly and customizable option. In this guide, Simple Steps for DIY Backyard Compost Pit we’ll walk you through the steps to create your own compost pit that meets Google’s requirements for helpful content updates. Let’s get started!
What is Composting and Why is it Important?
Composting is a natural process of breaking down organic materials into a rich, dark soil-like material called compost. This compost is full of nutrients that plants need to thrive, making it a great fertilizer for your garden. Not only does composting benefit your own garden, but Simple Steps for DIY Backyard Compost Pit it also helps reduce waste in landfills and is a more environmentally friendly way to dispose of food scraps and yard waste.
What You Will Need for Your Compost Pit
Before you begin building your compost pit, Simple Steps for DIY Backyard Compost Pit gather the following materials:
1. A Shovel
2. A Spade
3. Gardening Gloves
4. Chicken Wire or Fencing
5. Compostable Materials
6. Water
7. A Pitchfork or Garden Fork
Choose the Right Location
The first step in creating your compost pit is choosing the right location in your backyard. You’ll want to find a spot that is convenient for you to access, but also won’t be an eyesore in your yard. Additionally, Simple Steps for DIY Backyard Compost Pit consider the following factors when choosing your location:
Sunlight
Your compost pit will need sunlight to help break down the materials, so choose a spot that gets at least 6 hours of sunlight per day.
Drainage
Choose a location that has good drainage to avoid a soggy compost pit that won’t properly aerate.
Proximity to Water Source
You’ll need to water your compost pit regularly, so choose a location that is close to a water source for easy access.
Dig the Hole
Once you’ve chosen the location for your compost pit. Simple Steps for DIY Backyard Compost Pit, it’s time to dig the hole. The pit should be approximately 3 feet wide and deep, but you can adjust the size depending on the amount of compost you want to make. Use your shovel and spade to dig out the hole and remove any rocks or debris.
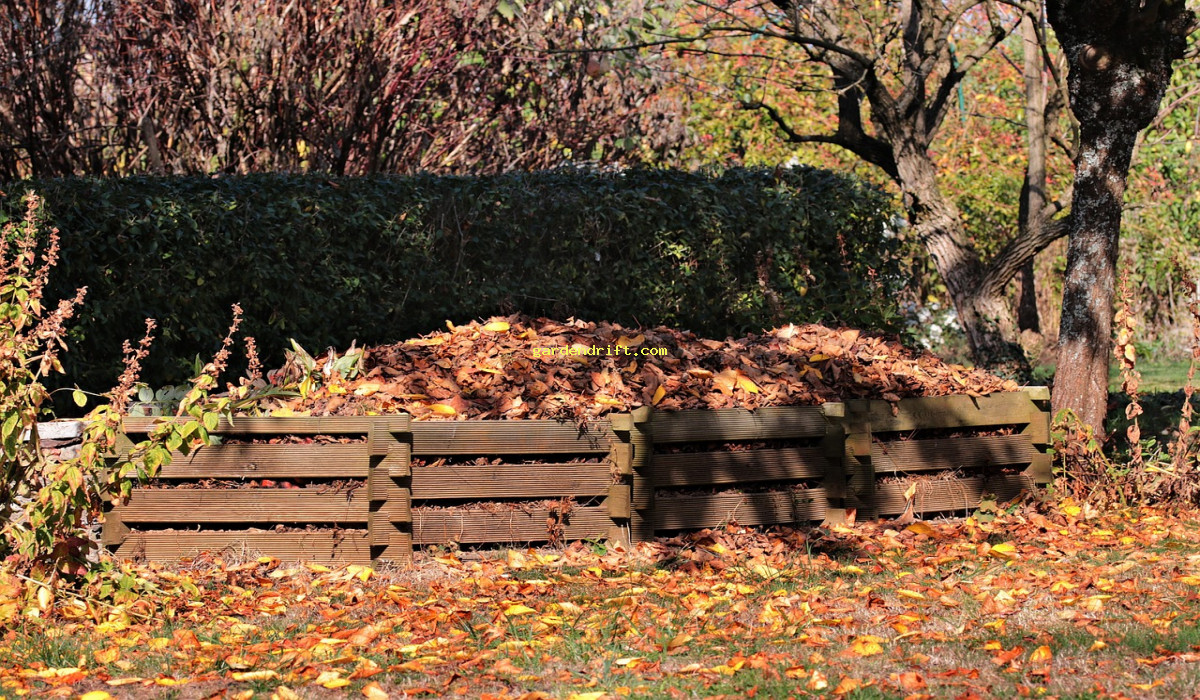
Line the Pit with Chicken Wire or Fencing
To keep your compost materials contained, line the bottom and sides of the pit with chicken wire or fencing. This will prevent any materials from spilling out and will also provide air flow for proper decomposition.
Start Layering Compostable Materials
Now Simple Steps for DIY Backyard Compost Pit it’s time to start filling your compost pit with materials. The key to successful composting is creating a balance of “green” and “brown” materials. “Green” materials are high in nitrogen, which helps break down the compost, and include items such as fruit and vegetable scraps, tea bags, and grass clippings. “Brown” materials are high in carbon and provide structure to the compost, and include items such as dry leaves, newspaper, and twigs.
Begin with a layer of brown materials, Simple Steps for DIY Backyard Compost Pit then add a layer of green materials on top. Continue layering until the pit is about 2/3 full, making sure to water each layer as you go to keep the materials moist.
Regularly Turn and Water the Compost
To ensure proper decomposition, Simple Steps for DIY Backyard Compost Pit it’s important to regularly turn and water your compost. Use a pitchfork or garden fork to turn the materials every few weeks and make sure to keep the compost moist, but not soggy. This will help keep the decomposition process going and prevent any unpleasant odors from developing.
Wait for the Compost to Mature
It can take anywhere from 2-6 months for your compost to fully mature, depending on the materials and conditions. As the materials break down, Simple Steps for DIY Backyard Compost Pit you’ll notice a decrease in volume and the compost will become dark and crumbly. When it’s ready, use your compost as a natural fertilizer for your plants and garden.
Questions About Making a Compost Pit
Can I Put Meat or Dairy Products in My Compost Pit?
It is not recommended to include meat or dairy products in your compost pit as they can attract pests and create unpleasant odors. Stick to fruit and vegetable scraps, coffee grounds, and yard waste.
How Often Should I Turn My Compost?
It’s best to turn your compost every 2-3 weeks to promote proper decomposition and prevent any foul odors.
Can I Use My Compost Right Away?
It’s recommended to let your compost mature for at least 2 months before using it as a fertilizer for your plants.
Conclusion
Creating a compost pit in your backyard is an easy and environmentally friendly way to reduce waste and create nutrient-rich soil for your plants. By following these steps and tips, Simple Steps for DIY Backyard Compost Pit you can create a compost pit that meets Google’s requirements for helpful content updates and enjoy the benefits of a bountiful garden. Happy composting!

Learn how to make a compost pit in your backyard in just a few simple steps. Say goodbye to overfilling landfills and hello to nutrient-rich soil for your garden. Let’s get started!. compost Simple Steps for DIY Backyard Compost Pit: Create Nutrient-Rich Soil at Home!
What is a compost pit?
A compost pit is an area in your backyard where you can create nutrient-rich compost by layering organic materials such as food scraps, yard waste, and garden debris.
How do I make a compost pit in my backyard?
1. Choose a location: Simple Steps for DIY Backyard Compost Pit Pick a spot in your backyard that is out of the way and receives partial shade.
2. Dig a pit: Dig a hole at least 3 feet deep and 3 feet wide.
3. Layer materials: Start by placing a layer of straw or twigs at the bottom of the pit. Then add layers of green materials (grass clippings, vegetable scraps) and brown materials (dead leaves, twigs).
4. Keep it moist: Water the pit periodically to keep the materials moist.
5. Turn the compost: Every few weeks, use a shovel to mix the contents of the pit to aerate and speed up the composting process.
What can I put in a compost pit?
You can add a variety of organic materials to a compost pit, including fruit and vegetable scraps, coffee grounds, tea bags, eggshells, Simple Steps for DIY Backyard Compost Pit yard waste such as grass clippings and dead leaves, and even shredded paper or cardboard. Avoid adding meat, dairy, or oily foods to the compost pit as they can attract pests and slow down the composting process.
How often should I turn the compost?
Turning the compost every few weeks aerates the materials and speeds up the decomposition process. However, Simple Steps for DIY Backyard Compost Pit there is no set rule for how often you should turn the compost as it depends on various factors such as the materials used and the temperature. Use your judgment and turn the compost when it starts to feel dry or smells bad.
What are the benefits of using a compost pit?
Composting helps reduce the amount of waste sent to landfills, reduces the need for chemical fertilizers, and reduces greenhouse gas emissions. Adding compost to your soil also improves its structure, increases its ability to hold water, and provides essential nutrients for plants to grow. It also attracts beneficial organisms such as worms and bacteria that help break down organic matter and improve soil health.


