
DIY Seedling Pots in Just 5 Simple Steps – A Beginner’s Guide. Looking to start your own garden? Learn how to make your own seedling pots with our simple and easy method. Save money, reduce waste, and have fun with this DIY project. All you need is a few supplies and some basic steps. No need to be an expert gardener, just follow our guidelines and you’ll have your seedling pots ready in no time. Start growing your plants from scratch with this environmentally-friendly and cost-effective solution.
DIY Seedling Pots in Just 5 Simple Steps – A Beginner’s Guide. few supplies and DIY Seedling Pots in Just 5 Simple Steps – A Beginner’s Guide
DIY Seedling Pots in Just 5 Simple Steps
The Benefits of Making Your Own Seedling Pots
Making your own seedling pots is not only a fun and creative activity, but it also has many benefits for both the environment and your wallet. By using materials that are readily available, you can reduce waste and save money while also ensuring that your seedlings have a healthy start. Plus, creating your own seedling pots is a great way to get children involved in gardening and teach them about sustainability. DIY Seedling Pots in Just 5 Simple Steps,
If you’re ready to give it a try, DIY Seedling Pots in Just 5 Simple Steps, read on for a step-by-step guide on how to make your own seedling pots. With some basic materials and a little bit of time, you’ll have a collection of eco-friendly pots that are perfect for starting your garden.
What materials do I need to make my own seedling pots?
To make your own seedling pots, you’ll need the following materials:
- Recycled newspaper or paper towels
- Something cylindrical to use as a mold, such as a small bottle or can
- Tape
- Scissors
- Potting soil
- Seeds
Is it better to use newspaper or paper towels?
Both newspaper and paper towels can be used to make seedling pots, DIY Seedling Pots in Just 5 Simple Steps but they have different benefits. Newspaper is more sturdy and durable, making it a good choice for larger seedlings. Paper towels are thinner and easier to work with, making them a great option for smaller seeds or for creating more delicate pots.
How do I ensure that my seedlings have proper drainage?
Proper drainage is essential for the health of your seedlings. DIY Seedling Pots in Just 5 Simple Steps To ensure that your seedling pots have enough drainage, poke a few holes into the bottom of each pot with a pencil or skewer. This will allow excess water to drain out and prevent your seedlings from becoming waterlogged.
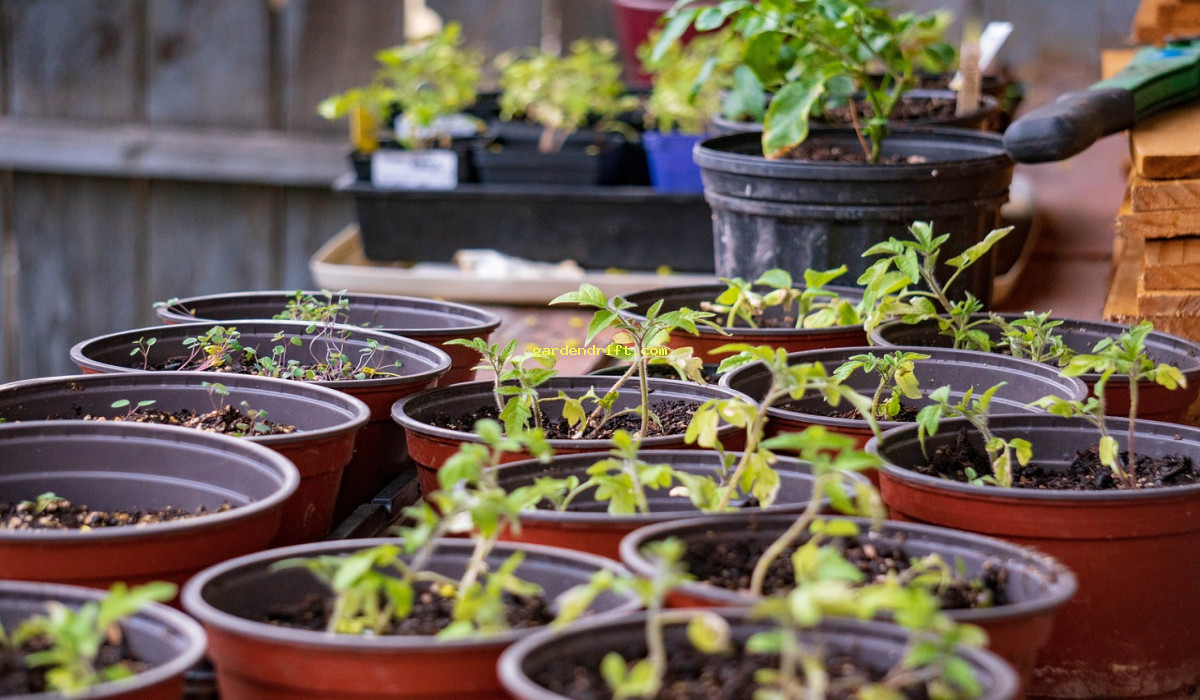
How to Make Your Own Seedling Pots
Roll Up Your Newspaper or Paper Towels
Start by laying out a sheet of newspaper or paper towel on a flat surface. Then, take your cylindrical mold (such as a bottle or can) and place it at one end of the sheet. Begin rolling the paper tightly around the mold, making sure to keep it even and taut. Once you’ve rolled the paper all the way to the other end, tape the edge down to secure the shape.
Secure the Bottom of the Pot
Carefully slide the mold out of the rolled up paper, DIY Seedling Pots in Just 5 Simple Steps leaving you with a cylinder. To secure the bottom of the pot, fold the edges of the paper inward, creating a flat base. Secure the edges with tape to hold them in place. This will also create a barrier to prevent the soil from falling out of the bottom of the pot.
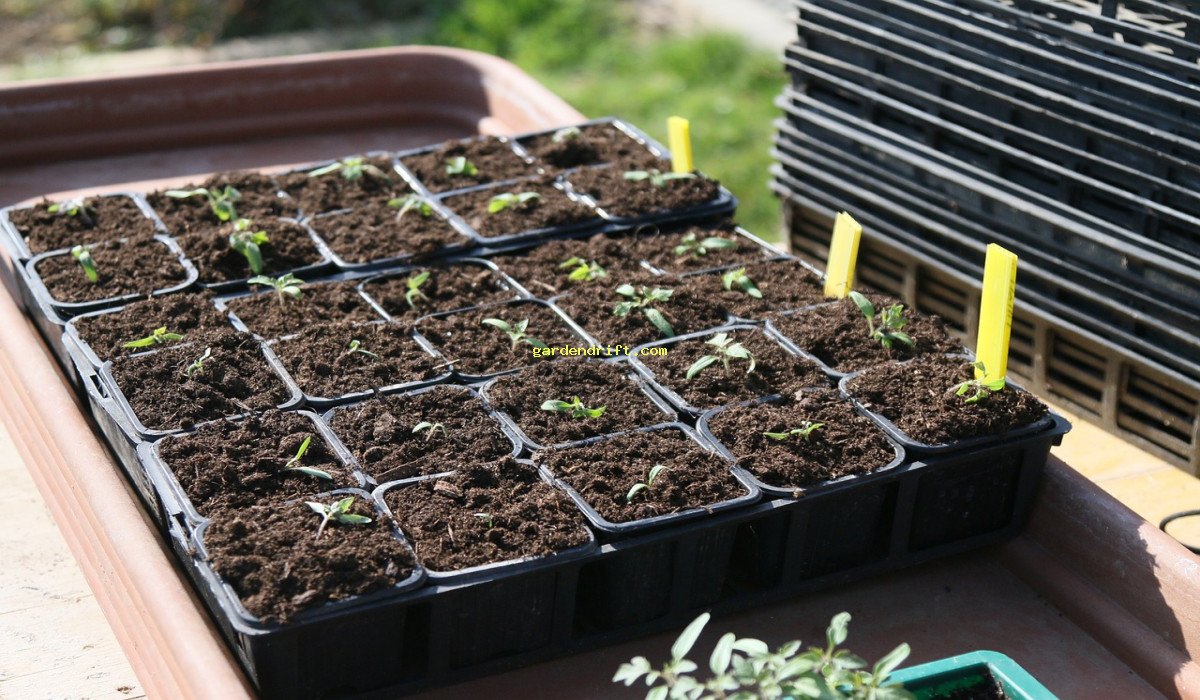
Fill Your Pot with Potting Soil
Fill your pot with potting soil, leaving about an inch of space at the top. This will give your seedlings room to grow. Depending on your preference, you can also mix in some compost or fertilizer for added nutrients.
Plant Your Seeds
Following the instructions on your seed packet, carefully plant your seeds in the center of the pot. Be sure to leave enough space between each seed to allow them to grow properly.
Water Your Seedlings
Once your seeds are planted, water them gently using a watering can or spray bottle. Be careful not to overwater, as this can lead to mold or rot. Place your seedling pots in a warm and sunny spot, and check on them regularly to make sure the soil stays moist.DIY Seedling Pots in Just 5 Simple Steps,
Transplant Your Seedlings
As your seedlings grow, you may need to transplant them into larger pots or directly into your garden. Using your homemade seedling pots makes this process easy, as you can simply plant the entire pot into the ground without disturbing the delicate roots.
Reuse or Recycle Your Pots
After your seedlings have been transplanted, you can choose to either reuse your pots for future seedlings or recycle them. If you decide to reuse them, simply clean them out and let them dry before using them again. If you decide to recycle them, you can tear them up and add them to your compost bin.
The Versatility of Homemade Seedling Pots
Not only are homemade seedling pots better for the environment, but they also offer more versatility than traditional plastic pots. With a few adjustments to the size and materials, you can create different types of seedling pots that are perfect for your specific needs. Here are a few ideas to get you started:

Use different materials
Instead of using newspaper or paper towels, you can get creative and use different materials to make your seedling pots. Some options include toilet paper rolls, egg cartons, or even biodegradable newspaper pots.
Make different sizes
You can easily adjust the size of your homemade seedling pots by using different-sized molds or by rolling your paper tighter or looser. This gives you the flexibility to start different types of plants in pots of various sizes.
Add labels
To keep track of what you’ve planted, you can add labels to your seedling pots. Simply write the name of the plant on a small piece of paper or even directly on the pot itself using a marker.
Personalize your pots
Get creative and personalize your seedling pots by decorating them with paint, markers, or stickers. This is a great option for getting kids involved in the gardening process and making it a fun and engaging activity for them.
Conclusion
Making your own seedling pots is not only a sustainable and cost-effective option, but it also allows for creativity and versatility in your gardening. By following the simple steps outlined in this guide, you can create eco-friendly pots that will give your seedlings the perfect start. So why not give it a try and see the benefits for yourself? Happy gardening!
Looking to start your own garden? Learn how to make your own seedling pots with our simple and easy method. Save money, reduce waste, and have fun with this DIY project. All you need is a few supplies and some basic steps. No need to be an expert gardener, just follow our guidelines and you’ll have your seedling pots ready in no time. Start growing your plants from scratch with this environmentally-friendly and cost-effective solution.. “Seedling Pots” DIY Seedling Pots in Just 5 Simple Steps – A Beginner’s Guide
How do I make my own seedling pots?
There are several methods you can use to create your own seedling pots. One simple way is to save cardboard toilet paper tubes, cut them in half, and fold the bottom to create a base. Another option is to use newspaper and a can or jar to roll it into a pot shape. You can also use biodegradable pots made from materials such as coconut coir or peat moss.
What materials can I use to make seedling pots?
In addition to the materials mentioned above, you can also use eggshells, citrus peels, plastic bottles, or even old newspaper. Just make sure the material is biodegradable or can be easily removed from the plant’s roots when transplanting.
How big should my seedling pots be?
The size of your seedling pots will depend on the type of plant you are growing. In general, a pot that is 2-3 inches in diameter and 3-4 inches deep should be sufficient for most seedlings. Avoid making the pots too large, as it can lead to overwatering and hinder the plant’s growth.
Can I use regular soil in my seedling pots?
It is not recommended to use regular garden soil in your seedling pots. This type of soil is often too dense and can lead to poor drainage, which can harm the roots of your seedlings. Instead, use a seed starting mix or potting soil that is light and airy.
How often should I water my seedling pots?
The frequency of watering will depend on the type of plant, the size of the pot, and the weather conditions. In general, it is best to keep the soil moist but not waterlogged. Check the soil regularly and water when the top inch feels dry. Avoid overwatering, as it can lead to root rot and other issues.


