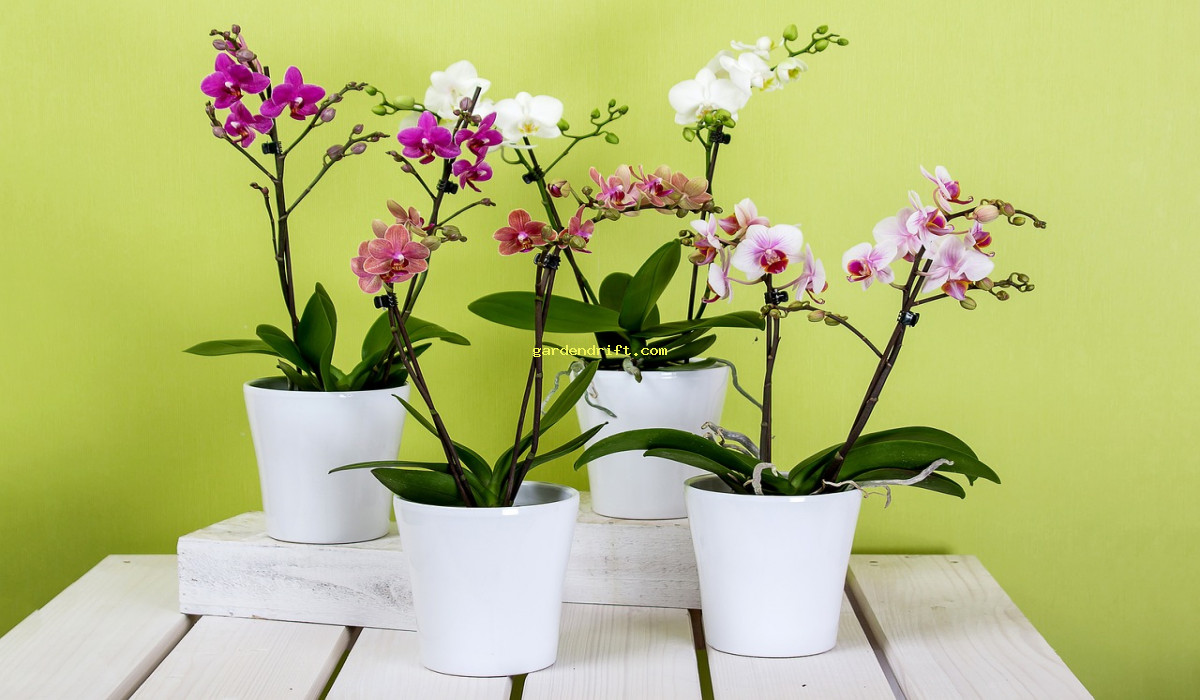
5 Simple Steps for DIY Flower Pots: A Beginner’s Guide. Learn how to make beautiful flower pots at home using these simple steps. No need for any fancy tools – just some creativity and inexpensive materials can transform your garden. Discover the art of making your own unique pots and add a personal touch to your outdoor space.
5 Simple Steps for DIY Flower Pots: A Beginner’s Guide
5 Simple Steps for DIY Flower Pots: A Beginner’s Guide. creativity and inexpensive 5 Simple Steps for DIY Flower Pots: A Beginner’s Guide
How to Make Flower Pots: A Comprehensive Guide for the Perfect DIY Project
Are you looking for a creative and budget-friendly way to display your plants? Look no further than making your own flower pots! Not only will this DIY project give you a sense of satisfaction, but it will also add a personal touch to your home decor. In this detailed guide, we will walk you through the steps of making your own flower pots. So roll up your sleeves, get your materials ready, and let’s dive in!
Gather Your Materials
Before you get started, it’s important to have all your materials ready 5 Simple Steps for DIY Flower Pots. This will save you time and ensure a smoother crafting process. Here’s what you’ll need:
- Clay or terracotta pots (any size you prefer, but a 6-inch pot is recommended for beginners)
- Potting soil
- Plants of your choice
- Waterproof varnish or sealant
- Acrylic paints or spray paint
- Paintbrushes or sponges
- Newspapers or a drop cloth for easy cleanup
- A bowl of water for brushes
- Optional: stencils, masking tape, and other decorative materials
Prepare Your Workspace
Now that you have all your materials, it’s time to set up your workspace. Choose a well-ventilated area, preferably outdoors, as painting can produce strong fumes. Place the newspapers or drop cloth on the ground to protect it from any spills or drips. Make sure your work area is clear and easy to move around in.
Paint Your Pots
Time to get creative! Start by applying a coat of waterproof sealant on the inside and outside of the pot. This will protect the pot from water damage and make it last longer. Let it dry completely before moving on to the next step. If you’re using acrylic paints, mix them with a little water to create a smoother consistency. Alternatively, you can use spray paint for a quick and even coat.
Use Stencils and Masking Tape for Designs
To add unique designs and patterns to your pots, use stencils and masking tape. This will give your pots a professional and polished look. Use different sizes and shapes of stencils to create a variety of designs. If you’re using masking tape, make sure it’s firmly pressed down to prevent the paint from bleeding through. You can also create stripes, chevron patterns, or any other design you desire.
Get Creative with Different Painting Techniques
There are numerous painting techniques you can try to make your flower pots stand out. Use sponges to create a textured look, or dab different colors for an ombre effect 5 Simple Steps for DIY Flower Pots. You can also experiment with splatter painting, where you flick paint onto the pot using a brush or toothbrush. Don’t be afraid to get creative and try new techniques to make your pots one-of-a-kind.
Let the Pots Dry
Once you’re happy with your designs, let the pots dry completely. This can take anywhere from a few hours to a full day, depending on the type of paint you used. Make sure the pots are completely dry before moving on to the next step.
Plant Your Flowers or Herbs
Now for the fun part – planting your flowers or herbs! Fill the pots with potting soil, leaving enough room for the plants’ roots to grow. Carefully remove the plants from their original pots and gently loosen the roots before placing them in the new pots. Add more potting soil around the plant and press down lightly. Water the plants well and make sure they have enough sunlight to thrive.
Add Final Touches
To give your flower pots a professional finish, use a fine-tipped brush to touch up any areas that need more paint. You can also add additional designs or details if desired. Once you’re satisfied, let the pots dry for a final time. You can also use a coat of clear varnish to seal the paint and make it last longer.
Enjoy Your Personalized Flower Pots
Congratulations, you have successfully made your own flower pots! Place them in your home, garden, or balcony, and admire your beautiful and unique creations 5 Simple Steps for DIY Flower Pots. Not only did you save money by making your own pots, but you also added a personal touch to your home decor.
Tips and Tricks
To make your flower pot-making experience even easier, here are some extra tips to keep in mind:
- Wear old clothes or an apron to avoid getting paint on your favorite outfit.
- If using acrylic paints, try mixing in white to create lighter shades of colors.
- Use a clear gloss paint for a shiny finish.
- You can also use decoupage techniques to decorate your pots with paper or fabric.
- Let the pots dry completely between each step to prevent peeling or smudging of paint.
- Experiment with different types of pots, such as plastic, ceramic, or metal, to create a variety of looks.
- If you want to add drainage holes, use a drill or nail and hammer to create them in the bottom of the pot.
Making your own flower pots is not only a fun DIY project, but it also allows you to add a personal touch to your plants’ display. Whether you’re a beginner or an experienced crafter, making flower pots is a rewarding and enjoyable activity. So next time you’re looking to add some color and personality to your plants, try making your own pots instead of buying them. Happy crafting!
5 Simple Steps for DIY Flower Pots: A Beginner’s Guide
Learn how to make beautiful flower pots at home using these simple steps. No need for any fancy tools – just some creativity and inexpensive materials can transform your garden. Discover the art of making your own unique pots and add a personal touch to your outdoor space.. “Flower Pots” 5 Simple Steps for DIY Flower Pots: A Beginner’s Guide
The Simplest Way To Make Beautiful Flower Pots From Plastic Containers And Cement
5 Simple Steps for DIY Flower Pots: A Beginner’s Guide The Simplest Way To Make Beautiful Flower Pots From Plastic Containers And Cement Video 5 Simple Steps for DIY Flower Pots: A Beginner’s Guide
Making Flower Pots at Home: A Comprehensive Guide
Flower pots are a staple in every garden. They come in various shapes, sizes, and designs, making them a popular choice for both indoor and outdoor gardening. But have you ever considered making your own flower pots at home? Not only is it a fun and creative activity, but it also allows you to personalize your pots to fit your style and needs. In this article, we will guide you through the process of making flower pots using common materials found in most households.
What You Will Need
Before we dive into the steps, let’s gather all the necessary materials 5 Simple Steps for DIY Flower Pots. For this project, you will need:
– Clay or Play-Doh
– Sandpaper
– Knife or clay shaping tools
– Rolling pin
– Cooking oil or vaseline
– Paint (acrylic or spray paint)
– Paintbrushes
– Clear sealant (optional)
– Decorative elements like beads, gems, or shells (optional)
Step 1: Preparing the Clay
The first step is to prepare the clay or Play-Doh for shaping. If using traditional modeling clay, knead it first to make it more pliable. For Play-Doh, skip this step as it is already soft and easy to mold.
Step 2: Shaping the Pot
Once the clay is ready, use your hands or a rolling pin to flatten it to your desired thickness. For a uniform thickness, you can place two wooden strips on either side of the clay and roll the pin over them. Cut out a circle using a knife or a cookie cutter for the base of your pot.
Next, cut a long rectangular strip and wrap it around the base to create the walls of the pot. Use your fingers to smooth out the seams and shape the pot’s top edge to your liking 5 Simple Steps for DIY Flower Pots. You can also use shaping tools to add texture or patterns to the pot’s surface.
Step 3: Adding Drainage Holes
Proper drainage is essential for healthy plant growth. Use a small straw or pencil to poke a few holes at the bottom of your pot. These holes will allow excess water to drain out and prevent root rot.
Step 4: Drying and Sanding
Set your pot aside to dry for 24-48 hours, depending on the type of clay used. Once the pot is completely dry, use sandpaper to smooth out any rough edges or imperfections. You can also use this time to add any final details to your pot, such as carving your initials or adding decorative elements.
Step 5: Painting and Sealing
This is where you can let your creativity shine. Use acrylic or spray paint to give your pot a vibrant color. You can also use multiple colors to create a unique design or add a coat of clear sealant for a glossy finish. If you are using spray paint, remember to do it in a well-ventilated area.
Step 6: Finishing Touches
Once your pot is painted and sealed, it is time to add the finishing touches. You can glue on decorative elements like beads, gems, or shells to add a touch of personality to your pot. If you are using a clear sealant, make sure to apply it after adding these elements to prevent them from falling off.
Step 7: Let it Cure
Your handmade flower pot is now ready to use. However 5 Simple Steps for DIY Flower Pots, keep in mind that the paint and sealant take time to cure completely. Place your pot in a dry and warm place for at least 24 hours before using it for planting.
Maintenance Tips
To maintain the quality of your homemade flower pot, make sure to clean it regularly with a damp cloth. Avoid using harsh chemical cleaners as they can damage the paint and sealant. Also, remember to reapply the sealant every few months to ensure its longevity.
Final Thoughts
Making flower pots at home is a fun and creative activity that anyone can do. Not only is it budget-friendly, but it also allows you to customize your pots to fit your style and needs. With just a few common materials and some creativity, you can have a beautiful and unique flower pot to add to your garden. So why not give it a try and see the results for yourself? 5 Simple Steps for DIY Flower Pots: A Beginner’s Guide
 5 Simple Steps for DIY Flower Pots: A Beginner’s Guide
What are the materials needed to make flower pots?
The basic materials needed are clay or ceramic, a potter’s wheel or molds, a kiln or oven, and tools for shaping and designing the pot.
How do I prepare the clay for making flower pots?
Begin by kneading the clay to make it pliable and get rid of air bubbles. Then, roll the clay into a ball and use a potter’s wheel or molds to shape it into the desired pot shape.
Is it necessary to fire the clay before using it to make flower pots?
Yes, firing the clay is an important step as it hardens and strengthens the pot. It also makes the pot resistant to water and weather elements.
Can I make flower pots without a potter’s wheel?
Yes, you can use molds, hand-building techniques, or even repurpose household items as molds to create flower pots without a potter’s wheel.
What are some creative ideas to decorate flower pots?
You can paint the pots with different colors and designs, add mosaic tiles, wrap them with twine or fabric, or use decoupage techniques to decorate the pots.
How long does it take for a flower pot to dry after shaping?
It can take anywhere from a few hours to a few days for a flower pot to dry completely, depending on the type of clay used and the surrounding temperature and humidity.
Can I use a regular oven to fire flower pots instead of a kiln?
It is not recommended to use a regular oven as it may not reach the high temperatures needed for firing clay. It can also release hazardous fumes.
Can I add drainage holes to a flower pot after it has been fired?
Yes, you can use a drill or pottery drill bit to create drainage holes in a fired flower pot. Just be sure to wear safety goggles and gloves while drilling.
How can I ensure the longevity of my flower pots?
Protect your flower pots from harsh weather conditions by glazing them or applying sealants. Avoid using abrasive cleaning materials and store the pots in a cool, dry place when not in use.
Can I make flower pots with children?
Yes, making flower pots can be a fun and educational activity for children. Just make sure to use non-toxic materials and supervise them while using any equipment. 5 Simple Steps for DIY Flower Pots: A Beginner’s Guide.